How To Set Up a Website Widget Survey
If you’re in a rush, there’s a short video of what I am doing at the bottom.
Step 1 – Create your Survey
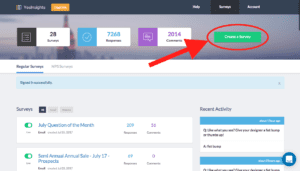
Sign into your YesInsights account and click “Create Survey”.
Step 2 – Choose Survey Type
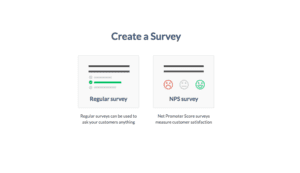
Click on which type of survey you would like to create. I created an NPS survey for this How To Guide and the corresponding video.
Step 3 – Choose How to Share
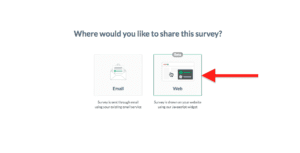
You will be prompted to select your distribution method after selecting your type of survey. Select Web since we will be setting up a website widget survey.
Step 4 – Name your Survey and Adjust Styling
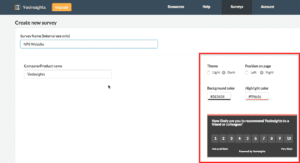
In this step, you’ll give your survey a name and change the style of your pop-up website widget survey. You can change the color theme, the positioning of the pop-up, and the background and highlight color.
Step 5 – Adjust Additional Settings
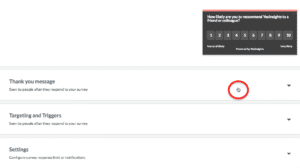
After creating your survey, you will have the opportunity to craft a different thank you message, adjust the targeting and triggers of your website widget survey, and change how many times users can answer the survey.
As you can see in the image above, you just need to click (red circle above) on one of these options to open up a menu where you can customize your website widget survey.
Step 6 – Craft Your Thank You Message
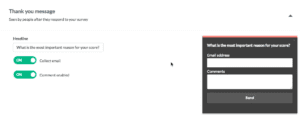
The image above is what your screen will look like when you click on the “Thank you message” tab.
After users fill out your website widget survey, they will be shown a thank you screen inside the website widget (shown above). This is your chance to capture their email address and any additional insights on why they gave their answer.
You have the ability to craft your own thank you message, as well as turn off the functions asking users for their email address and additional comments.
Step 7 – Set your Targeting and Triggers

The image above is what your screen will look like when you click on the “Targeting and Triggers” tab.
This is where you control which pages your website widget survey will appear on, as well as what will trigger your website widget survey to appear.
You have the option of adding (or hiding it) from specific pages, or you could opt to have it shown on all your pages. And the different triggers you can use are provided in the image above.
Step 8 – Adjust Additional Settings
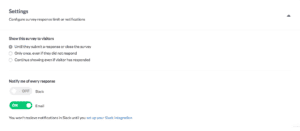
The image above is what your screen will look like when you click on the “Settings” tab.
Here you have the ability to limit the number of times users can answer your website widget survey or choose how you’ll be notified of new survey responses.
Step 9 – Creating your Survey to Share
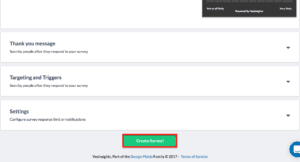
After filling in all the survey criteria, you will scroll down and select the green “Create Survey!” button.
Step 10 – Copying the Javascript
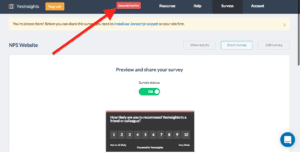
After creating your survey, your screen will look like the image above. You will need to install your JavaScript code to the website you want the website widget survey to appear.
To copy your code, click on the red “Javascript Inactive” button (where the arrow points to above) or click on the blue hyperlink text.
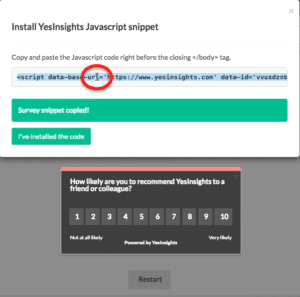
That will load up this pop-up screen with the JavaScript code. You just need to click on the code (red circle above) and the survey snippet will copy to your clipboard.
Step 11 – Installing the Javascript
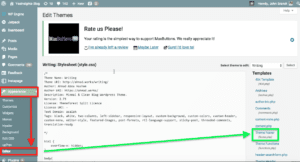
I did this in WordPress, but adding the JavaScript code follows a similar process even if you aren’t using WordPress.
But in WordPress, on the left-hand side, click on the “Appearance” button (first red box above). Then, click on the “Editor” sub-tab (second red box above) to load up your coding templates.
Then, since we need to add the JavaScript before the closing </body> tag, you’ll want to find and click on the “Theme Footer” template (in the green box above).
Once the “Theme Footer” template is loaded, scroll to the bottom and locate the closing </body> tag (in the green circle below).
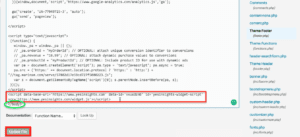
After locating the closing </body> tag, simply paste your Javascript survey snippet above the tag (first red box above), then click the “Update File” button.
Step 12 – Double Check
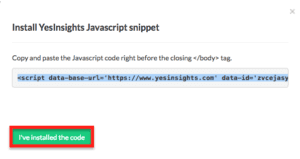
After installing the survey snippet, go back to YesInsights and click the green “I’ve installed the code button”. Your red “Javascript Inactive” button should turn green and say “Javascript Active”.
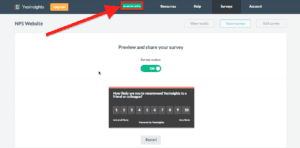
Note: Sometimes there is a delay in updating the Javascript button, so check your actual website before worrying.
Then, open a new tab and type in the website where you installed the Javascript to make sure it’s working. I temporarily added this website widget survey to our blog. It will look something like this:
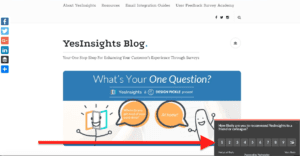
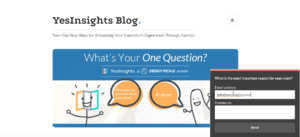
Answer your survey and fill in your additional comments then click the “Send” button.
After this, you’ll want to go back to your YesInsights dashboard.
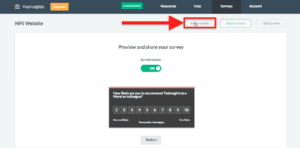
Click on the “View Results” button (red box above) to make sure your survey is functioning properly.
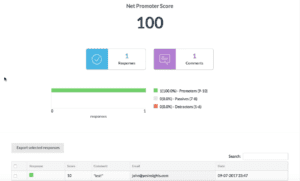
After clicking, you will be able to see your real-time results and any additional comments. And we will calculate your overall NPS score for you 🙂
Just make sure you delete this response so it doesn’t affect your real survey stats.
And that’s all there is to it!
Click here if you want to see how to set up an email survey.
TL;DR:
Here’s the video of me doing the same process:
